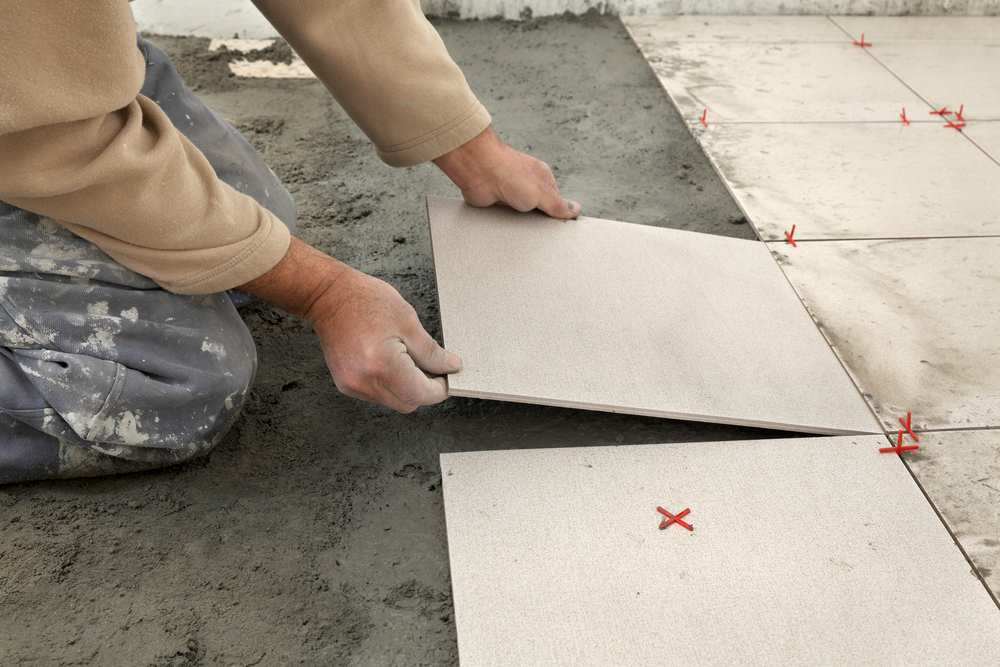
Ceramic tiles are very popular for installing on the floors of kitchens and bathrooms of domestic buildings. In many houses, the walls of living rooms, bedrooms, and bathrooms are also covered with ceramic tiles. There are different types of ceramic tiles available in the market, though porcelain and quarry tiles are most commonly preferred for flooring. As the ceramic tile installation process is quite easy, many house owners can accomplish this job without hiring professional masons. However, the installation of tiles on the floor is easier than that on the high walls.
 |
| Ceramic Tile Installation |
Definite guidelines for easy ceramic tile installation
- First, the surface should be thoroughly cleaned and dried before proceeding with the actual procedure of ceramic tile installation. It is better to check the substrate or the floor surface carefully, to see if there is any unevenness or damage. The surface should be leveled plain so that the tiles can be placed easily. The tiles also must be dried before installing on the substrate.
- It is better to draw out the layout for installing the ceramic tiles. The center point of the surface should be marked with chalk and then symmetrical grids can be drawn towards both sides. The tiles may be cut off to fit perfectly on the surface if needed. A tile cutter is needed for cutting off the tiles according to the lines drawn on the tile surfaces. A detailed calculation is needed at this stage, to make rooms for the tiles, as per the shape and size of that surface area.
- A strong adhesive is chosen as recommended by the manufacturer of ceramic tiles. This adhesive should be applied over the surface and the lower side of the ceramic tiles. The excess adhesive should be removed with a trowel, to make the coating of adhesive uniform. The ceramic tile installation should be completed within 30 minutes of applying the adhesive perfectly on both surfaces.
- Then the tiles should be placed over the readied surface carefully, one by one. The tiles should be placed along the drawn center line at first. Then each grid should be completed before proceeding to the next grid of tile placements. The corner of each marked grid should be filled with a tile, to avoid any complication during ceramic tile installation. The tiles should be placed directly over each marked position and cannot be slid from one position to another, as that will result in wastage of adhesive. Care should be taken to join one tile to another along the perimeters, without leaving any gap between the tiles.
- After all the tiles are placed in the correct place, the tiles should be tapped lightly with a rubber mallet. A wooden block is used to press the tiles in place, to make the bonding stronger between two surfaces. Normally, the adhesive fixes within 15 minutes of placing the tiles and thus, all finishing work should be completed by that time. If excess adhesive emerges by the sides of these tiles, it should be wiped off immediately with a wet sponge to render a uniform look to the ceramic tile installation.
- Next, the joints between the tiles should be sealed with grout and excess grout should be scraped off with a wet sponge, leaving the tiles totally clean. The sponge used should be cleaned repeatedly with water, to make the installation of ceramic tiles neat. Finally, the tiles may be wiped with a dry cloth and left for at least 72 hours, before applying polish over the ceramic tiles.
 |
| Ceramic Tile Installation |
Thus, the floors and walls can be renovated with this simple technique of ceramic tile installation, strictly adhering to the directions provided by the manufacturer of these tiles.

No comments:
Post a Comment
Note: only a member of this blog may post a comment.